Electron.js를 이용해서 간단한 프로그램을 만들어 보겠습니다.
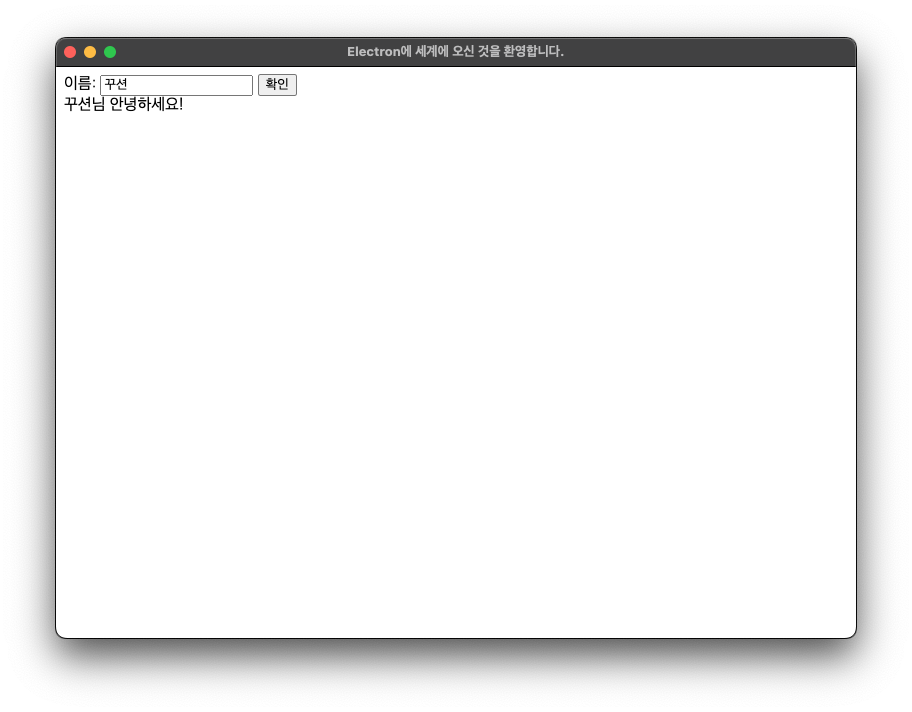
이번 실습은 간단하게 사용자의 이름을 받고, 버튼을 클릭하면, "[입력한 이름]"님 안녕하세요!"라는 문구를 그 아래에 찍는 실습입니다.
실습이니 만큼, 이해하기 쉽게 하기 위해서, 꾸미는 과정 없이 단순하게 작성하겠습니다.
소스와 함께 Electron이 구동되는 개념을 익히는데 중점을 두겠습니다.
1. 프로젝트 만들기
프로젝트 폴더 생성하기
이 번 실습에서는 "electron-test"라는 이름으로 진행합니다. (윈도우 사용자의 경우는 탐색기에서 실행하시면 됩니다.)
mkdir electron-test
프로젝트 초기화와 electron패키지 설치하기
cd electron-test

npm init -y
npm install electron --save-dev
2. 프로젝트 폴더에 index.html, main.js, renderer.js 파일을 생성합니다.
index.html
프로그램 화면에 보여지는 HTML파일입니다.
<!DOCTYPE html>
<html>
  <head>
    <meta charset="UTF-8" />
    <title>Electron에 세계에 오신 것을 환영합니다.</title>
  </head>
  <body>
    <div>
      <label for="nameInput">이름: </label>
      <input type="text" id="nameInput" />
      <button id="confirmButton">확인</button>
    </div>
    <div id="greeting"></div>

    <script src="renderer.js"></script>
  </body>
</html>
main.js
메인 프로세스 스크립트입니다. electron만의 독특한 자바스크립트입니다.
// electron모듈에서 필요한 객체를 가져옵니다.
const { app, BrowserWindow } = require("electron");

// 새로운 브라우저 창을 생성합니다.
function createWindow() {
  const win = new BrowserWindow({
    width: 800,
    height: 600,
    webPreferences: {
      nodeIntegration: true,
      contextIsolation: false,
    },
  });

  // 화면을 구성하는 "index.html"파일을 로드합니다.
  win.loadFile("index.html");
}

// 애플리케이션이 준비가 되면 "createWindow"함수를 호출해서 창을 생성합니다.
app.whenReady().then(createWindow);

// 애플리케이션 종료에 대한 이벤트 핸들러입니다.
app.on("window-all-closed", () => {
  if (process.platform !== "darwin") {
    app.quit();
  }
});

// 애플리케이션 활성화에 대한 이벤트 핸들러입니다.
app.on("activate", () => {
  if (BrowserWindow.getAllWindows().length === 0) {
    createWindow();
  }
});
renderer.js
HTML과 연동이 되는 Javascript함수입니다. 웹 애플리케이션을 만들 때 "<script>...</script>"에 들어가는 구문과 같습니다.
const confirmButton = document.getElementById("confirmButton");
const nameInput = document.getElementById("nameInput");
const greeting = document.getElementById("greeting");

confirmButton.addEventListener("click", () => {
  const name = nameInput.value;
  greeting.textContent = `${name}님 안녕하세요!`;
});
3. package.json 파일 수정
package.json 파일의 main을 앞에서 생성한 "main.js"로 변경하고, "scripts" 항목에 "start" 명령을 추가합니다.
{
  ...
  "main": "main.js",
  "scripts": {
    "start": "electron .",
    ...
  },
  ...
}
4. 실행하기
이제 터미널에서 프로젝트 폴더로 이동한 다음, 다음 명령어를 실행하여 애플리케이션을 실행합니다.
npm start
이상으로 간단한 실습을 마치겠습니다.
감사합니다.
반응형


댓글